About 10 years ago, no professional photographer would have probably thought that a camera phone could replace a professional DSLR in quality and usability.
Camera phones were far too basic in features and it lacked the imaging power compared to DSLRs. But with the most recent technologies in phone photography, I would say it is now very possible or even true that camera phones are slowly replacing those heavy and bulky cameras.
I have been a photographer by profession and I also have been teaching photography in several universities in the country for the past 11 years. My DSLR was my main tool, but that changed last year when I bought a midrange phone and used its RAW feature for shooting.
For this article, we’ll check out some ways to maximize your phone’s camera settings and turn ordinary snaps to upload-worthy photographs.
Flexible settings
If you ask any photographer, a DSLR is the ideal tool for different reasons. First is for its full manual control, next is its capability to interchange lenses, and third is its RAW shooting format.

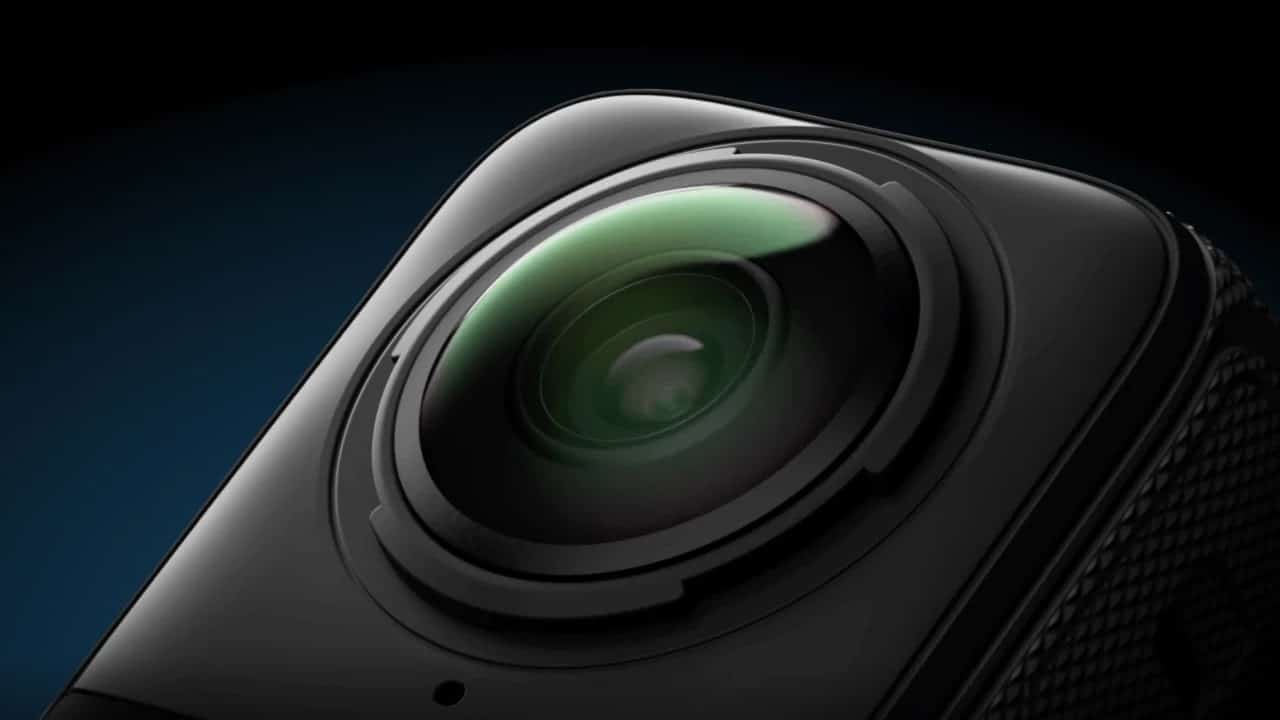
So how can phones replace DSLRs? A lot of smartphones today — even budget phones — have DSLR-like full manual control in Pro mode that lets you control ISO, White Balance, Focus, Metering, and Shutter Speed from up to 30 seconds – 1/4000 of a second.
You also have several focal length options that vary from ultra-wide, bokeh (prime lens), macro, and a telephoto (zoom) lens. You can pick and choose from these lenses depending on what the situation calls for.
If you find yourself traveling in a foreign land and you want to capture the landscape, an ultra-wide-angle lens would prove useful. If you want to focus on one subject up close, go for macro. When you need to zoom in on something, the telephoto would prevent loss of detail, and so on.

Remember, knowing specifically which and when to use your camera phone’s features is one of the ingredients to achieving a great shot.
Although important, those are a bit given. But a feature most people are not aware of is that a lot of mid-range and most (if not all) flagship phones now have RAW format!
RAW format
So what is RAW format? A quick Google search tells us it’s basically an unprocessed and uncompressed data of a photo that can be compared to the unprocessed film negative. If your phone supports this, it can be found on the settings page when you open your camera app.
For the sake of comparison, a normal JPEG (common method of lossy compression for digital images) photo has 8-bit of data per pixel or 256 shades of color. Meanwhile, RAW contains 12-14 bit per pixel or 4,096 shades of color and makes up to 68.7 billion colors.
In other words, shooting in RAW offers a tremendous amount of exposure and color detail greatly beneficial for tweaking its settings on a photo-editing software. Color correcting and color grading a RAW file will not reduce the quality of a photo — something that JPEG formats are notorious for doing.
Here are a couple of samples I shot on RAW vs after editing them:


Dynamic Range
When shooting landscape, you probably experienced ending up frustrated when you see the skies just blown-out and simply plain white, while shadows are totally dark with no details.
This is where dynamic range (or contrast ratio) will come into play. Most camera phones now have an HDR (High Dynamic Range) feature that uses AI to pull out details from contrasting parts of the photo.
But did you know shooting in RAW format will naturally capture details in both the light and dark areas of up to roughly 12 stops of exposure? And with the use of RAW processing apps like Adobe Lightroom, Snapseed, and VSCO, you now have the ability to pull out those details directly from your phone.
This will give you the power to create stunning landscape photos full of detail and color. This is not the same story when you shoot in 8-bit HDR JPEGS as attempting to pull out details from a jpeg will end up messing up your color and texture.
Know when to use RAW format
RAW format is not recommended in every single photo you take with your phone. You have to keep in mind that the RAW format will eat up a lot of your precious memory as a single photo can use up to 50mb depending on the pixel count of your phone’s cameras.
RAW format also requires processing. You cannot simply just shoot and upload. It is only recommended to use this format if you plan to correct exposure, correct color, and color grade on photo-editing apps like mentioned earlier.
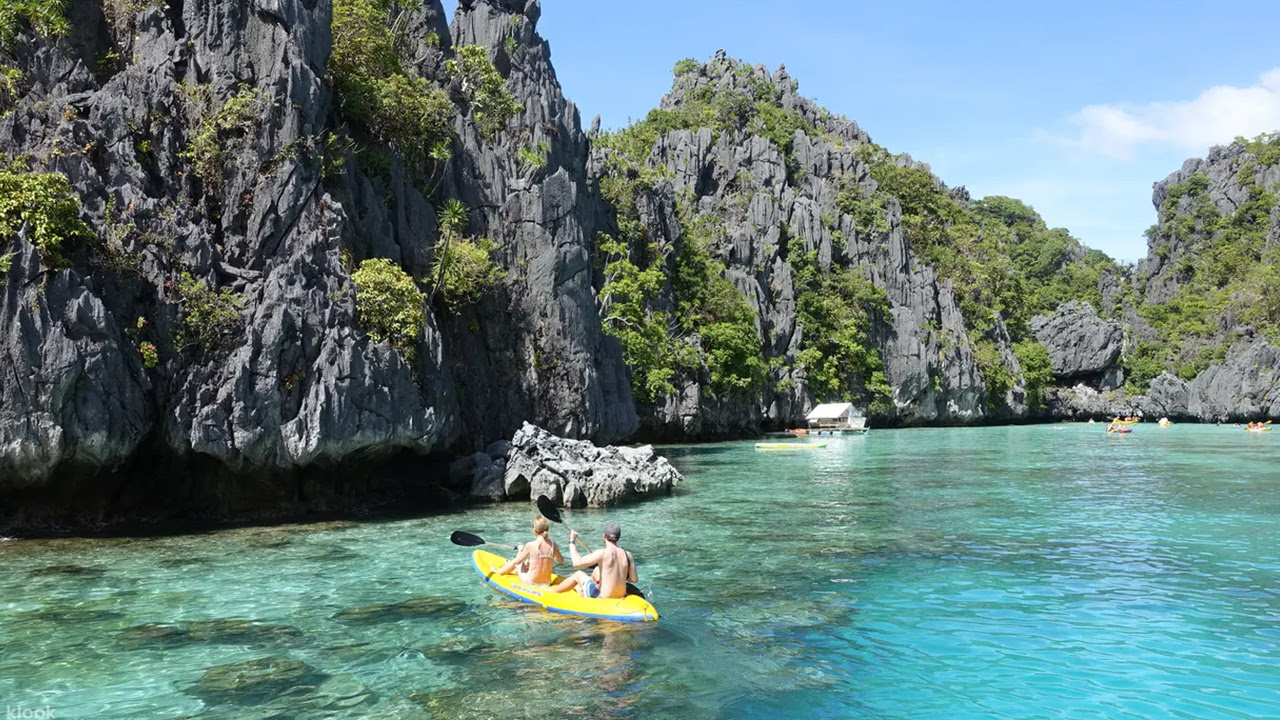
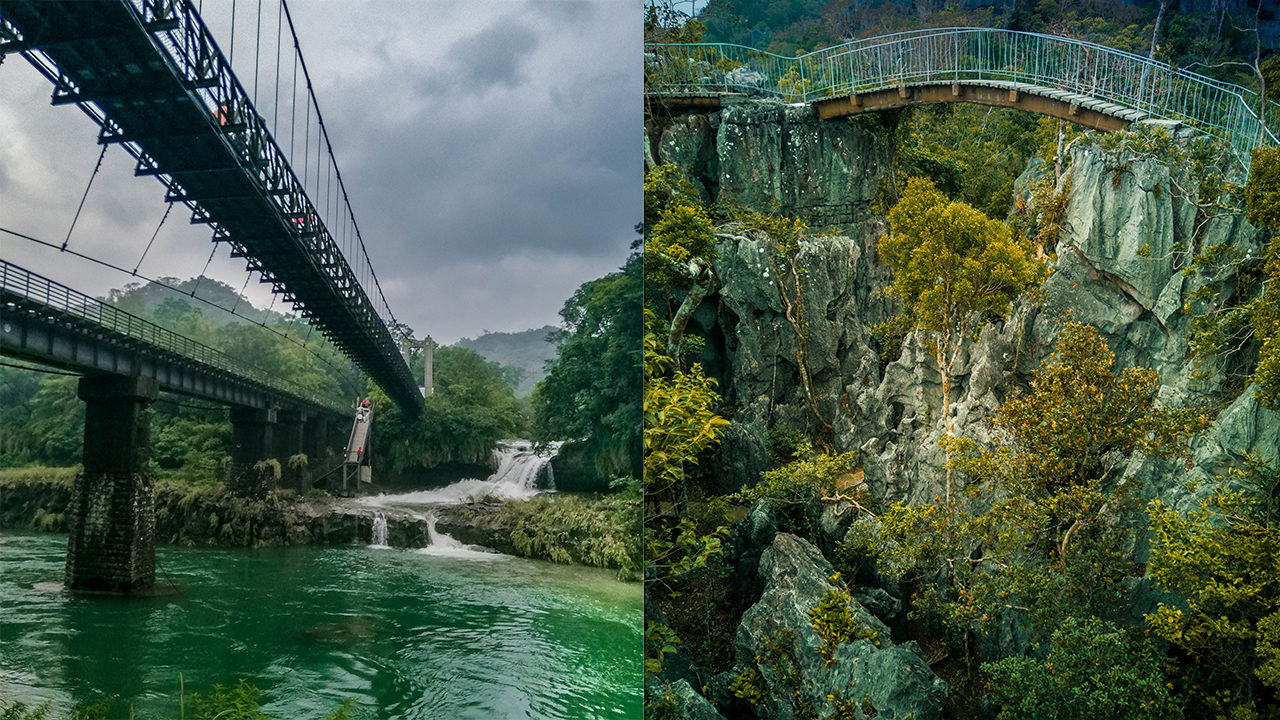
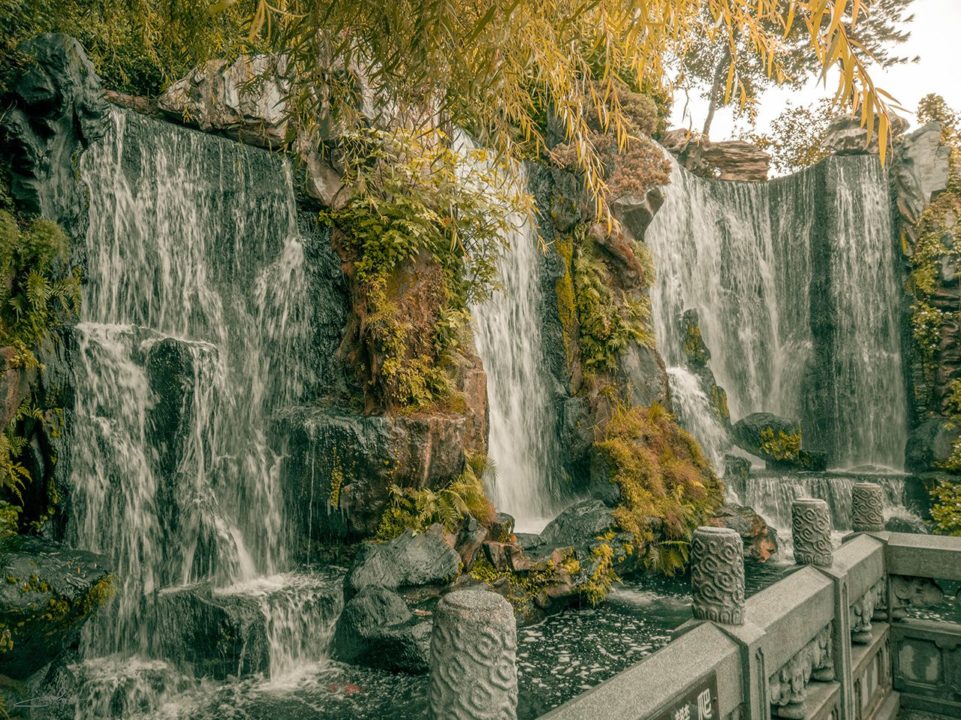
Protip: Landscape and travel photography is where you will find this most useful!
Conclusion
Now that these features are available on a phone using just one hand, I found myself using it for a number of my shoots.
Yes, a DSLR is still more powerful given its sensor size and a dedicated lens still produces better photos. But in some scenarios, it is simply a huge convenience to carry your photography tools in such a small package that fits in your pocket.
Plus it’s a convenient alternative to shoot in places where DSLRs require permits to use. The quality is already there and it continues to improve with every succeeding model. With these in mind, I truly am excited about the future of phone photography.