If you think you’ve been hearing a lot from affordable smartphone maker, realme, you’re not alone. The brand has been on a roll, releasing new phones, and even wearables, left and right, and are even currently hosting a month-long event, the realme Fan Fest.
And now, the company is yet again introducing another new phone to the Philippine market, the realme C15.
It’s unique in the sense that it pairs a large-capacity 6000mAh battery with an 18W fast charger. In fact, it’s the first smartphone in the world to do so. But we’ll talk more about that later on. If you prefer watching, though, here’s a special video review we’ve prepared for the realme C15:
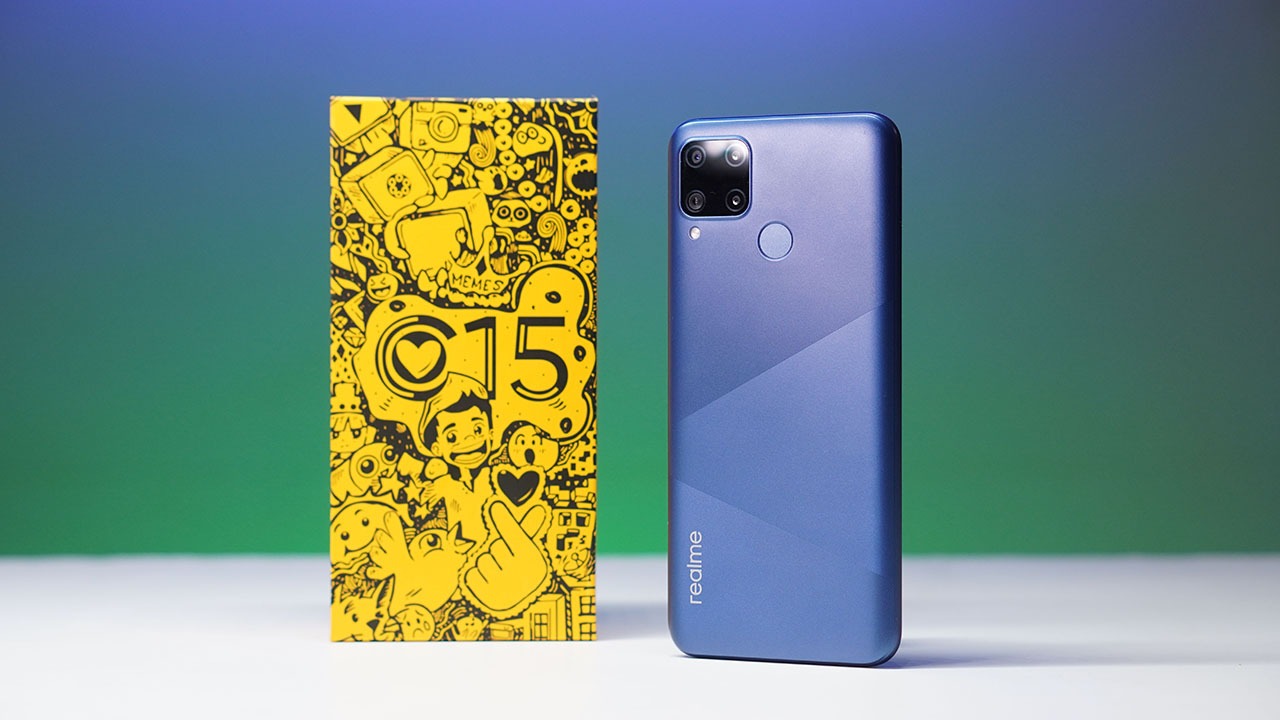
This time around, realme also has a little something extra to offer for the packaging of this device. The company will be releasing 1000 units that will come in the limited edition Philippines-exclusive doodle box designed by Vince Ricohermoso, winner of realme’s recent doodle box challenge.

Design
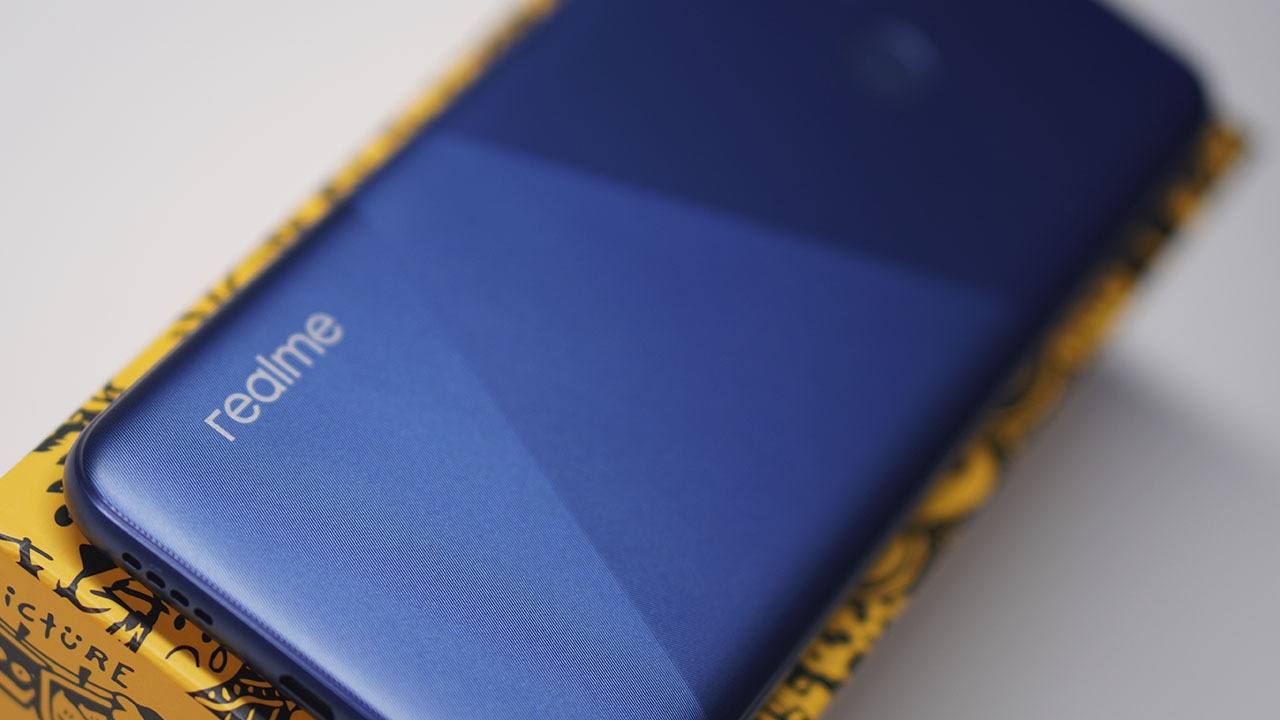
At first glance up front, the C15 sports a pretty standard design. It houses a large 6.5-inch screen with a mini-drop notch. But around the back, we see a new, less flashy design from the company that marries geometric shapes and gradient colors to provide a subtle and elegant look.

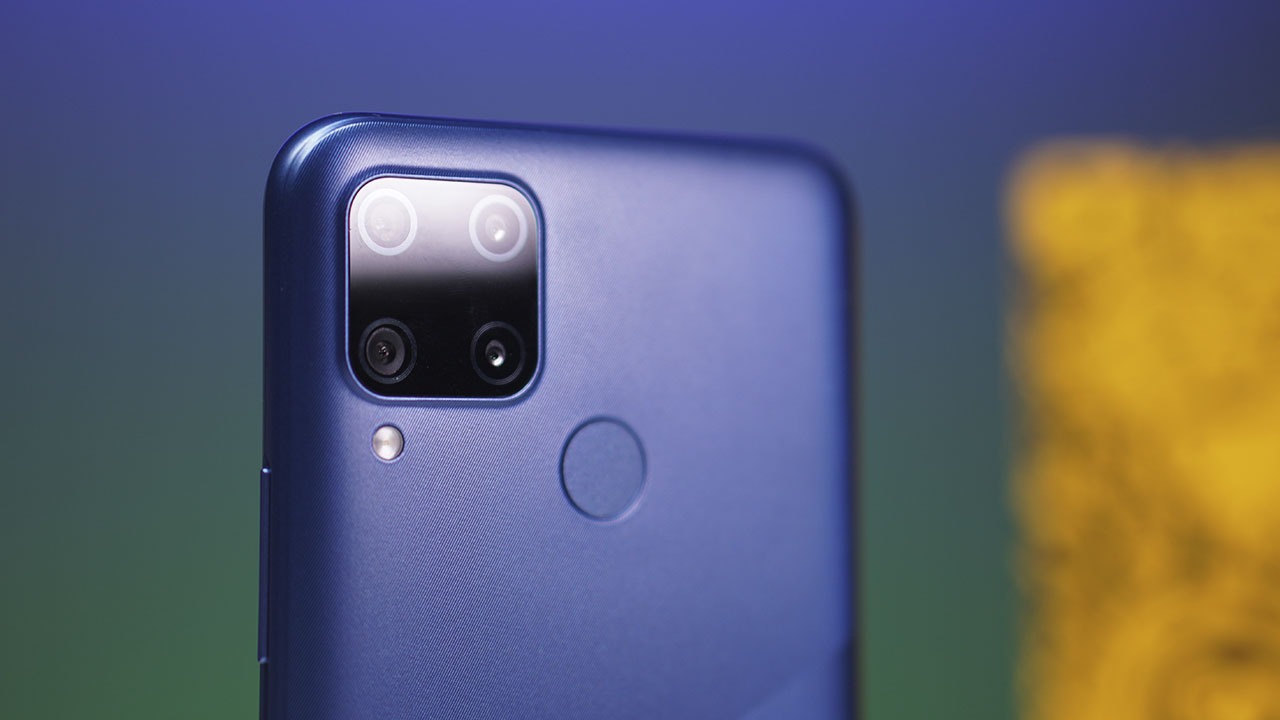
Our unit came in Marine Blue color but is also available in Seagull Silver. It has slightly raised ridges whose direction is dictated by the segments in the design. Because of this, viewing the phone from different angles gives off a nice visual effect. The ridges also provide additional grip so it doesn’t slide easily off your hand. Thankfully, you won’t have to worry about fingerprints either as the back is designed to attract less of them.
At the center, we see a fingerprint scanner and towards the left of it, the currently-trending, square-shaped camera module housing the C15’s quad-camera system — a first for the company’s C-series.
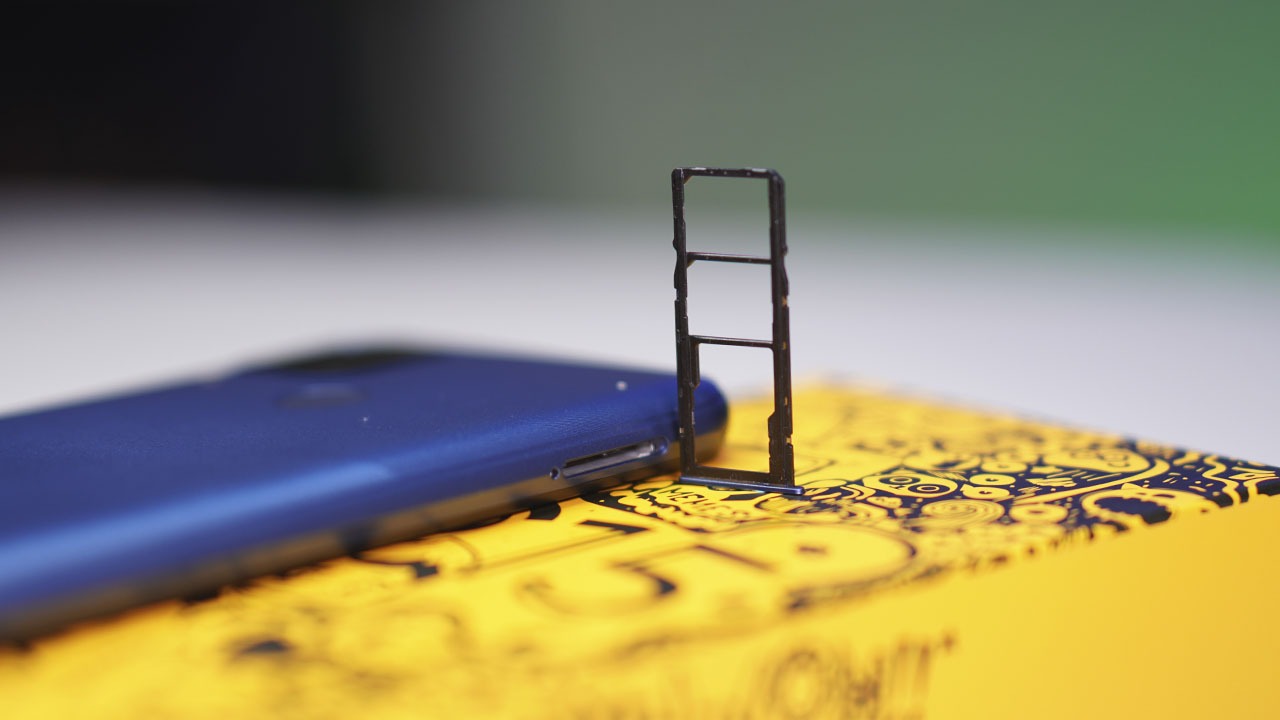
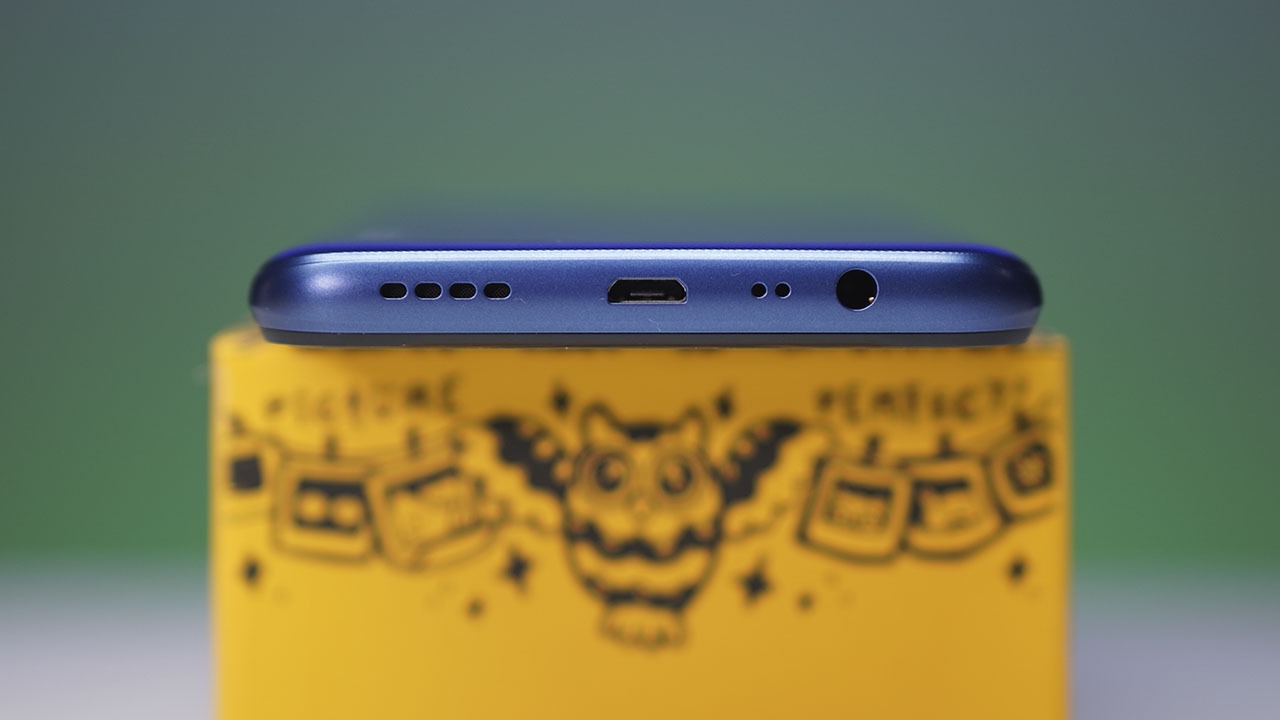
For buttons and ports, we can find the volume rocker and the power button on the right and the dual SIM and MicroSD card tray on the left. Moving down to the bottom, we see a micro USB port for charging, 3.5mm audio jack, and speakers.

One of the first things you’ll notice when you take the C15 out of the box is its heft. The device carries some weight and thickness to it which may be due to the large capacity battery it’s holding inside. It’s not uncomfortably heavy, though, and the thickness just needs some getting used to. And, most importantly, it still fits in your pocket.
Display
As we mentioned earlier, the realme C15 houses a 6.5-inch screen with a mini-drop notch design. It sports pretty narrow bezels all around apart from its chin which is just slightly larger than the rest. The form factor leans toward the taller side of the spectrum with an aspect ratio of 20:9 and an HD+ resolution of 1600 x 720. This means you may have to zoom in and crop parts of the image if you want to enjoy the full-screen experience.
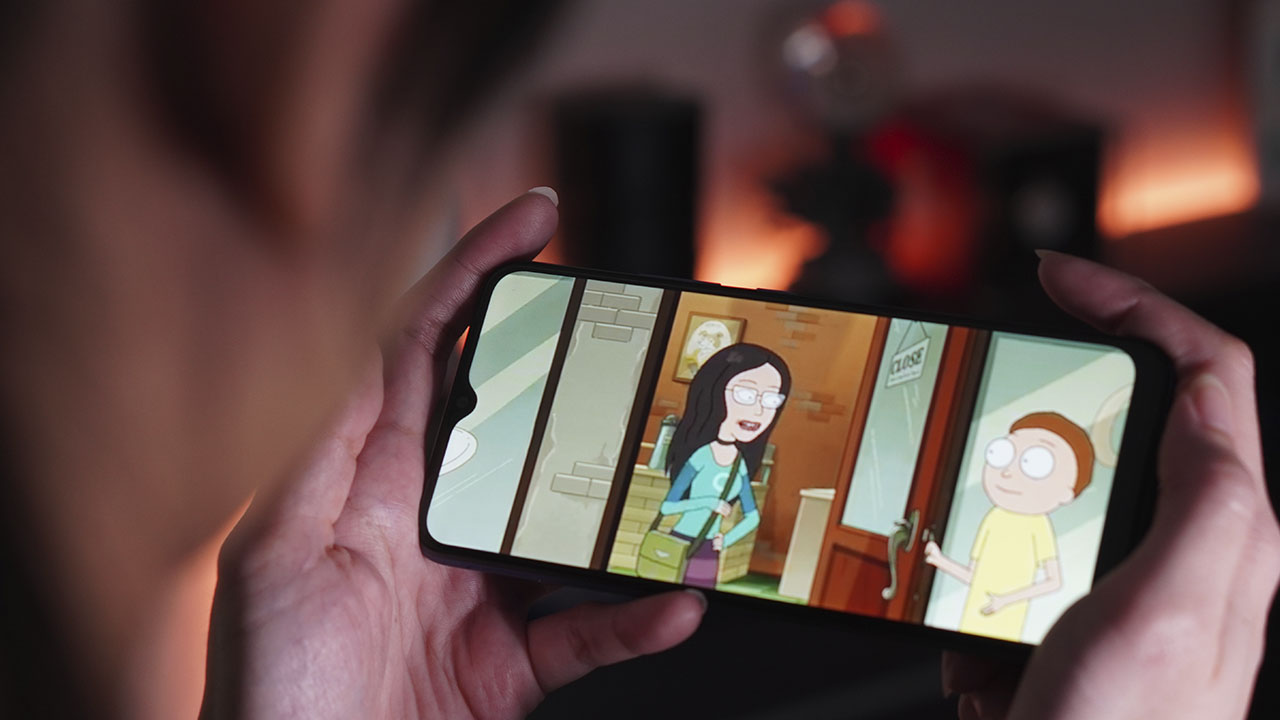
Colors are bright and saturated and there’s enough contrast to make images on the screen pop out. The screen’s large size proved to be useful when we had to work or type on it. Additionally, we were able to appreciate the 88.7% screen-to-body ratio when we needed that extra space.
Camera
The C15 is equipped with a quad-camera setup consisting of a 13-megapixel main, 8-megapixel ultra-wide, 2-megapixel black and white lens, and a 2-megapixel retro lens for added clarity and effects. Like we said earlier, this is actually the first device in the company’s C-series to sport these many cameras which, at its price point, is a really enticing offer.
Cameras on the C15 produce rich and bright images when there’s an adequate amount of light present and offers 4x zoom for getting closer shots as well. The device also supports phase detection autofocus or PDAF which makes focusing faster and more precise and its ultra-wide-angle camera does indeed capture a lot more with its 119-degree field of view.
realme says that the C15 carries a custom distortion calibration algorithm that’s meant to reduce the warped edges normally associated with wide-angle lenses. True enough, the ultra-wide camera does take more natural-looking wide-angle photos but you can still see a bit of distortion especially when human subjects are involved.
Additionally, the C15 cameras also feature a Nightscape mode for low-light photography. With it, the cameras take several photos of different exposures, take the best part of each of those photos, then combine them to make one whole image.


Around the front is an 8-megapixel selfie camera housed in the mini-drop notch. It has a couple of features including AI beautification, HDR mode, portrait mode, and Panoselfie for taking wider shots. It’s a pretty standard setup that gives you clear selfies when in bright light but pretty average ones in low light.
Overall, the C15 cameras, in the right circumstances, can produce quality images that you’d be proud to upload straight from the camera.
Performance
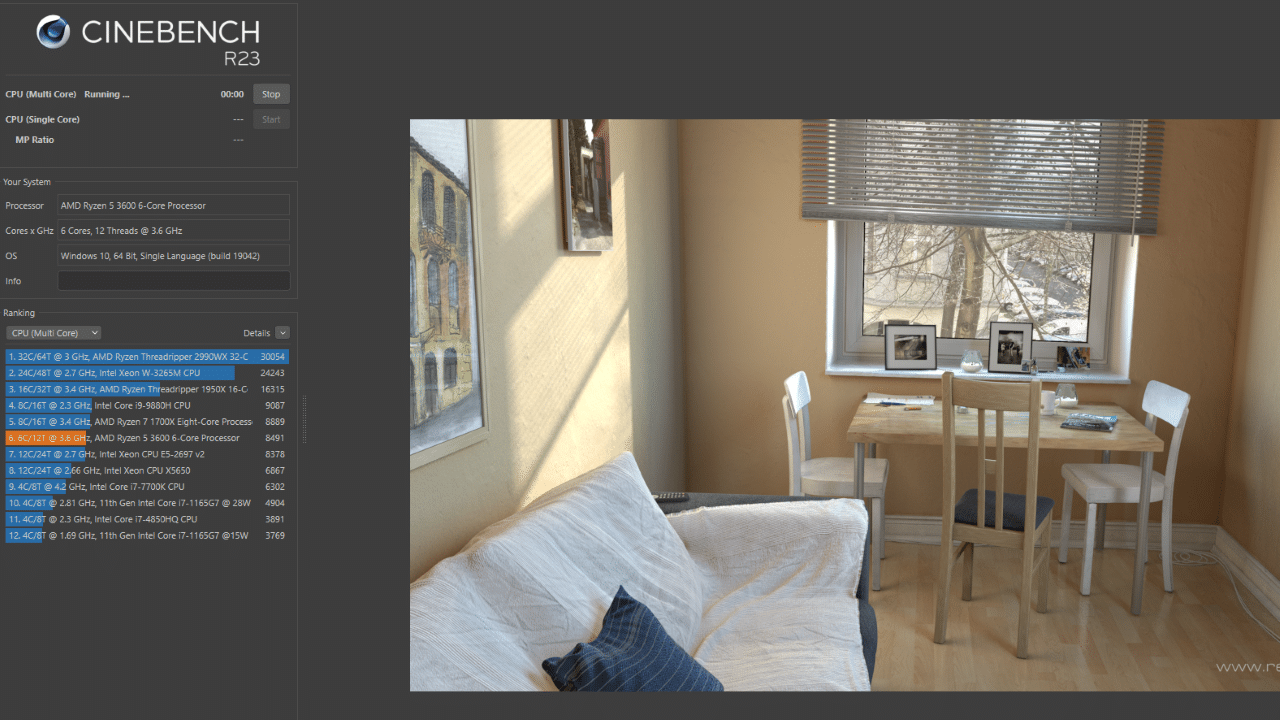
On the inside, the device is powered by a MediaTek Helio G35 processor matched with up to 4GB of RAM and 64GB of internal storage, expandable up to 256GB via microSD card.
The Helio G35 is the best you can get in this price segment. And, being a gaming-focused processor, it can take a fair amount of load before you notice drops in performance. As expected, it fairs well on popular titles like Mobile Legends and Asphalt 9 but long sessions on the device do cause it to heat up but not to an uncomfortable level.
Day to day tasks are handled with ease. We were able to surf the web, watch shows, play games, music, and other things without any real noticeable hiccups. It took some time and a lot of working apps before the device started showing signs of slowing down.

As for audio, the sound from the C15 is average. It’s clear and loud enough in terms of quality but the speakers are placed in an awkward position, much like the realme C3. Having them on the bottom side makes it more likely to be blocked by the palm when using in a horizontal orientation. This causes muffled sounds but thankfully there’s a 3.5mm jack for headphones to remedy this problem.
The realme C15 runs on realme UI which is based on Android 10. Custom-fit for realme’s identity, system icons and colors are bright, saturated, and bring a youthfulness to the overall skin. A couple of features that the realme UI bring are Dual Mode Music Share which allows the use of both wired and wireless headphones at the same time, Focus Mode, and Dark Mode. Additional features include 3-finger selected screenshot and personal information protection.

Battery
Here is what the realme C15 is really all about. As mentioned earlier, it packs a 6000mAh battery with support for 18W Quick-Charge. According to realme Lab tests, the device could last 57 days when in standby, 28 hours of watching on YouTube, 23 hours of Instagram browsing, and 10 hours when playing PUBG.
To extend the battery life even further, it’s built with deep software optimization that offers features such as App Quick Freeze and Screen Battery Optimization. App Quick Freeze is able to identify and freeze less frequently used apps to reduce power usage. Screen battery optimization, on the other hand, adjusts display effects to increase battery endurance.

Additionally, there’s sleep standby optimization that preserves battery when the device is not in use. It also has the usual power-saving mode and even a super-power saving mode that limits the phone to the six most widely used apps.
We put the battery to the test by charging the device to full then played a video on YouTube while connected to Wi-Fi until the battery ran out. The device lasted for an impressive 16 hours of continuous playback before it hit 1%.
Now back to the use of a micro-USB port. It’s true that it doesn’t charge as fast as a USB-C. But considering its price, the compromise is pretty much expected. Plus, charging isn’t that slow despite its large 6000mAh capacity thanks to the fast charging capabilities of the device.
It’s pretty obvious that the company spent some time in developing the battery and its features for the C15. Having this much battery life makes the C15 a great choice for power users on-the-go or even for those who are always on their phones.
Whether you’re working or studying, the C15 relieves you from worrying about your battery life. Also equipped with reverse charging, you can ditch your power bank and travel lighter since the C15 can also charge other devices like smartwatches or even other phones.
Creature Feature
In our reviews, The Modern Creatures aims to find special features in a device that make it worth having – something that gives the product a slight edge from its competitors. And for the realme C15, it’s pretty obvious that it would have to be its large-capacity battery coupled with support for quick charging.
At its price point, the realme C15 already offers a lot but to offer this large battery AND quick charging is really one of its biggest assets. With school and work migrating online because of the pandemic, it really is a great feature to have because you can dedicate yourself to your work or studies for a longer period of time.
Conclusion
The realme C15 has proven itself to indeed be the battery beast it claims to be. The 6000mAh battery and quick charging capabilities are features anyone would appreciate. Paired with a large screen, capable quad-camera setup, and productivity features of the realme UI, the C15 would be a great device for working, studying, or for leisure. And at its price point, you’re definitely getting a lot more than you would expect.
The realme C15 is priced at PhP 6,990 for the 4GB + 64GB variant starting August 21. The 3GB + 64GB variant is priced at PhP 6,490 and will be an online exclusive on Lazada starting August 20.
In addition to that, the special edition, Philippines-exclusive doodle box is available for the 3GB + 64GB variant and is exclusively sold online. It is available on August 20 and during the realme Super Brand Day on August 28