Affiliate Disclosure: When you purchase products through our links, we may receive a commission at no additional cost to you.
Assembling your very own desktop PC isn’t something you think of and finish on the same day. It’s actually a long and sometimes painful process especially if you’re tied down to a specific budget. But when you do finish setting up a rig, it rewards you with a feeling of accomplishment. I’m sure those who have done this would agree.
Now being in the new normal, most of us have already adjusted to the new way of purchasing stuff — online. Today, one could easily browse online and if they find something they want, a few clicks would guarantee its arrival in the coming days.
This makes PC building a lot more convenient as you no longer have to fall in long lines and risk getting sick with the virus. Unfortunately, I realized this after I had already bought components from physical stores. And the point of this quick guide is for you to be able to save time and not risk safety by staying indoors and purchasing needed components from the comforts of your homes.
The beauty of it is that pricing is generally the same when comparing physical vs online stores. Although if you’re the type who needs to see the products before buying them, this might not entirely be for you. But still, stick around!
So after countless hours of reviewing computer parts with a PhP 40K budget on hand, this is what I ended up buying:
Processor
Starting with the processor, I got the AMD Ryzen 5 3600. With six cores and a 12-thread processor, it can handle everyday tasks such as web browsing, office apps, and audio/video playback with ease. It can do a lot of multitasking as well.
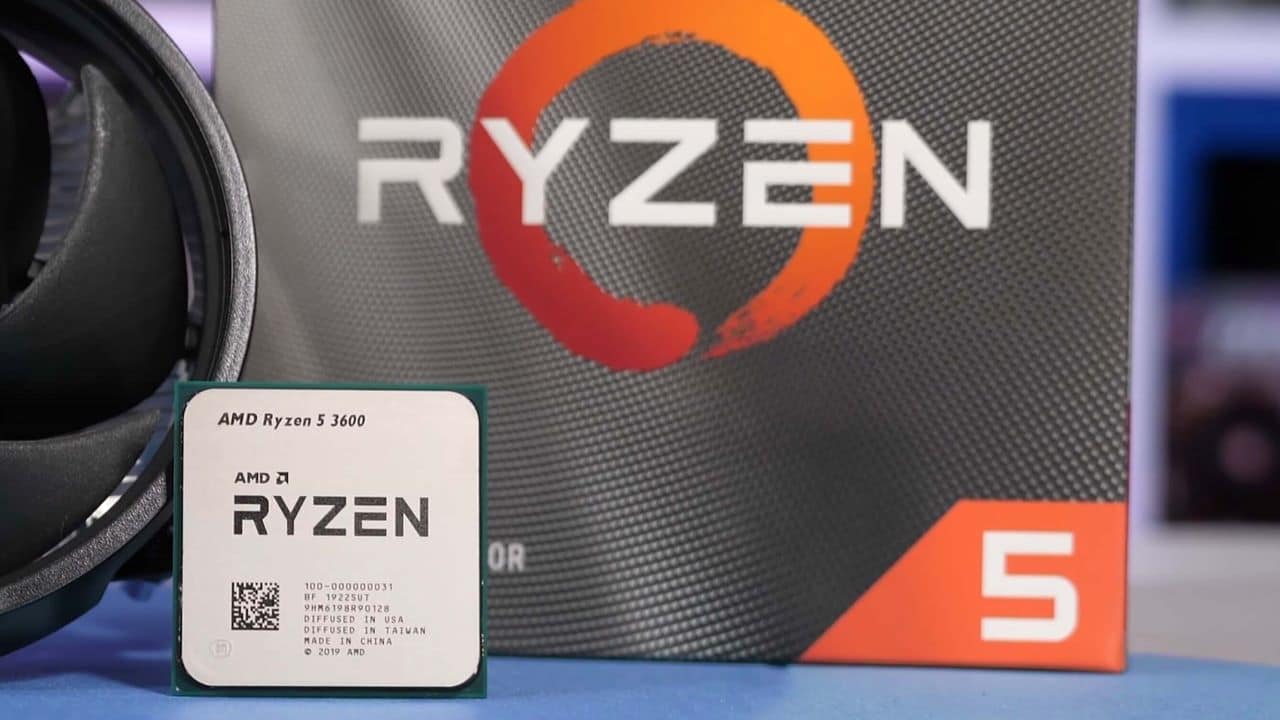
You can also try the previous-gen AMD Ryzen 5 2600, which has the same six cores and 12 threads. Choose this if you want to add more budget to your GPU instead. I chose AMD, not because it’s currently trending, but because it performs better at a fraction of a cost compared to Intel processors.
Motherboard
For the motherboard, I went with ASUS TUF B450M Pro Gaming. I chose this motherboard because it’s compatible with the parts I want, with the option to upgrade in the future. I also chose a smaller mATX variant because I wouldn’t be able to utilize the full capabilities of a regular ATX motherboard anyway.

You can also try the more recent and future-proof Gigabyte B550m variant. This motherboard is compatible with Ryzen 3000 or higher models.
GPU
As for GPU, I got the ASRock RX 5600 XT Challenger Pro since it’s one of the best GPUs available within my range. It is a Radeon graphics card with 6GB of VRAM which can run games in ultra settings including Cyberpunk 2077. You can choose its NVIDIA GPU counterpart, the NVIDIA RTX 2060, which is a little pricey and also harder to find.
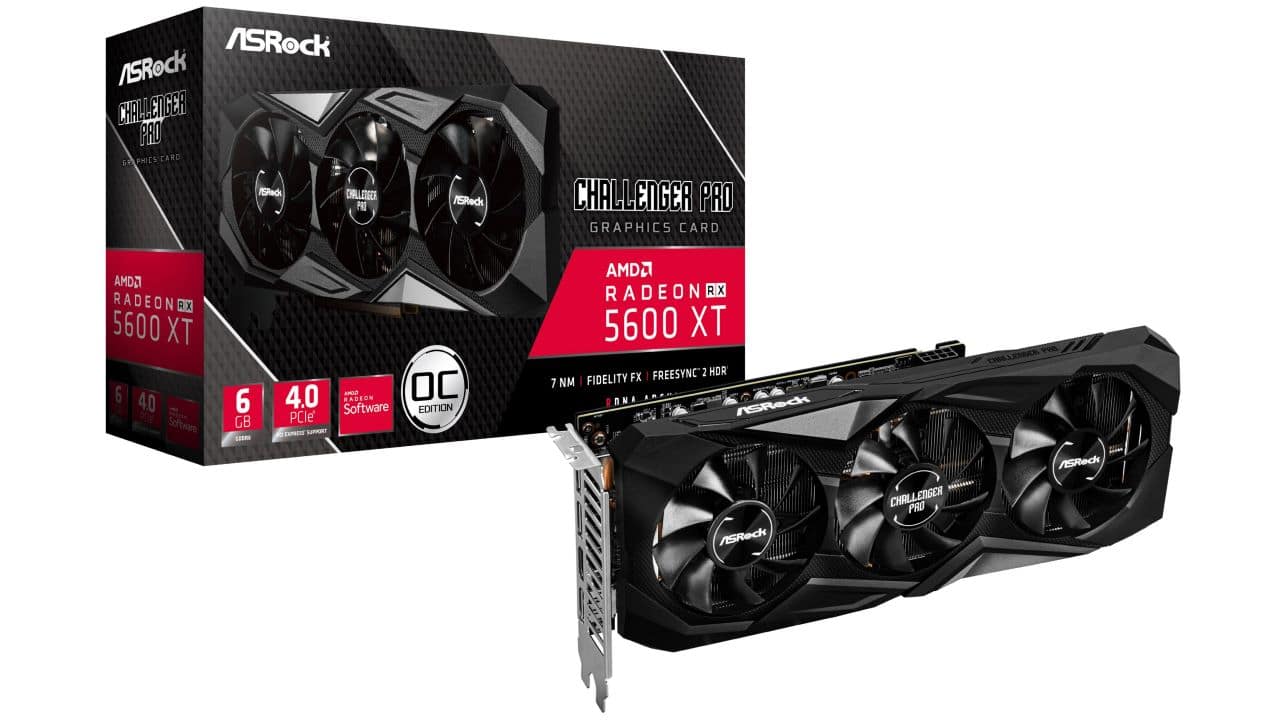
Always try to choose the higher-end graphics card that your budget can allow. GPUs these days are getting more and more difficult to find and are unavailable most of the time.
For other options, the ASRock RX 5500 XT Challenger Pro and IPASON GTX 1660 are something worth taking a look at. Note that VRAM is also important but always choose newer models instead of previous models with higher VRAMs like the RX 500 series for Radeon and the previous GTX 1000 series for NVIDIA.
RAM
To take care of memory, I got the Patriot Viper Steel 16GB (2x 8GB) 3200MHz. You can also use G.Skill Ripjaws V 16GB (2x 8GB) 3200MHz or Avexir Core 2 memory 16GB (2x 8GB) 3200MHz if you like an RGB variant.
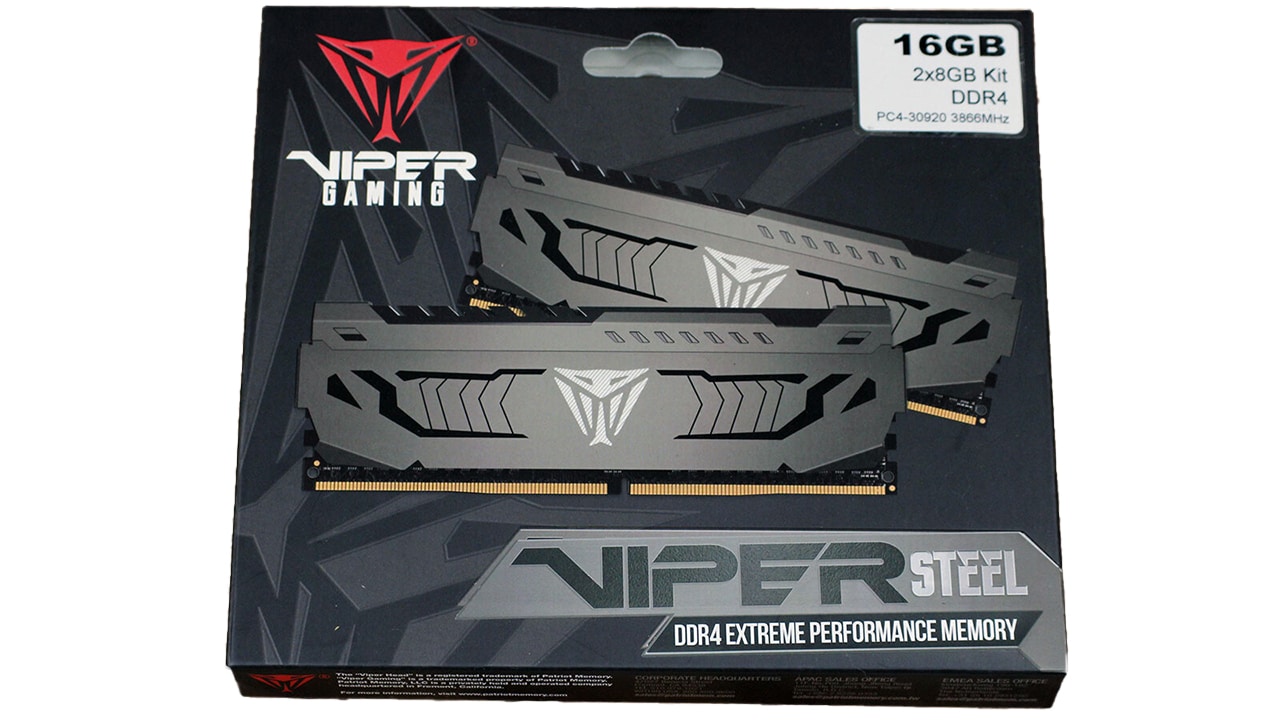
If you’re planning to edit videos for online content, for example, choosing between 16GB vs 32GB RAM only has a few seconds of difference in rendering time so going for the 16GB 3200MHz is a more practical option. Plus, it also has the sweet spot for speed according to experts.
SSD
Next up is SSD. I got Patriot P210 250GB SSD, because the Samsung 860 Evo Solid-State Drive 250GB isn’t available at the time. You can also choose the M.2 NVMe variant because it’s faster. Quick tip — always install your OS in your SSD for faster booting time.
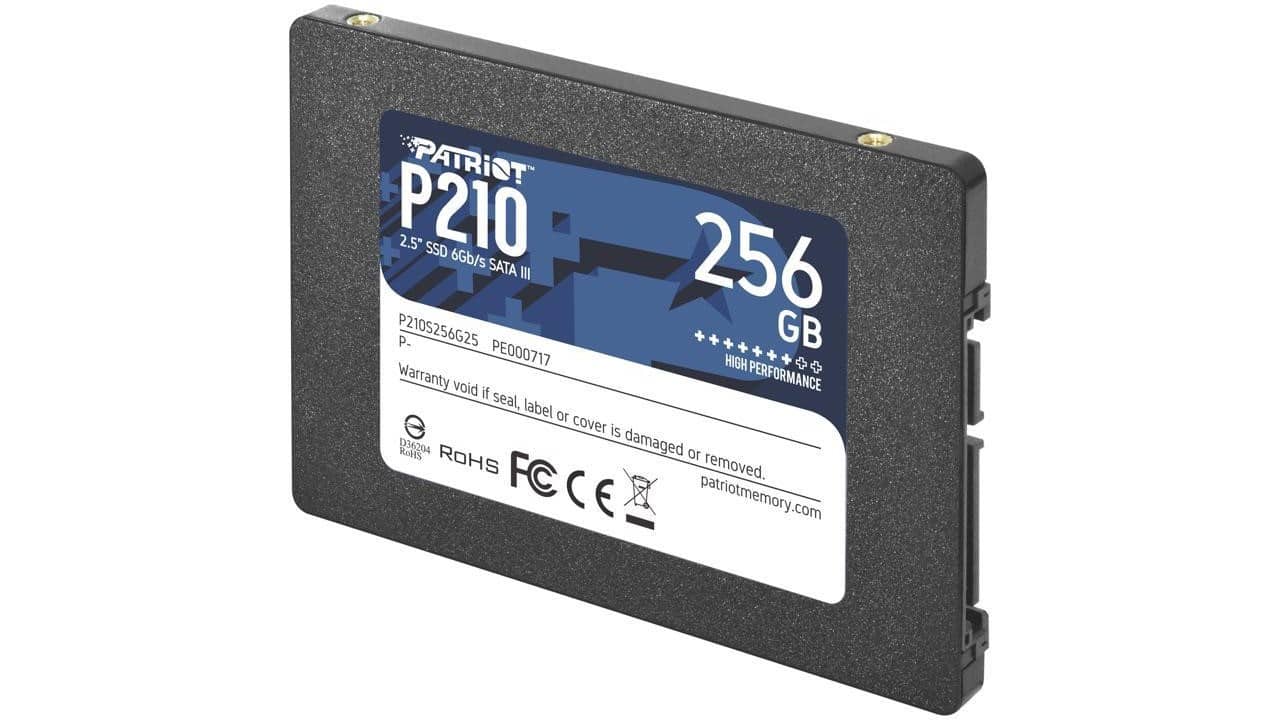
I didn’t include an HDD because I reused mine from my previous computer. Depending on your needs, you can use a 1 TB HDD or a 2 TB HDD.
PSU
To power the components, I got the Corsair CV650 without really understanding that there are different types of PSUs. One is Non-Modular or with fixed cables. This makes cable management almost non-existent but it has some advantages to it. The other is Semi-Modular. It’s a combination of fixed cables and customizable cables.
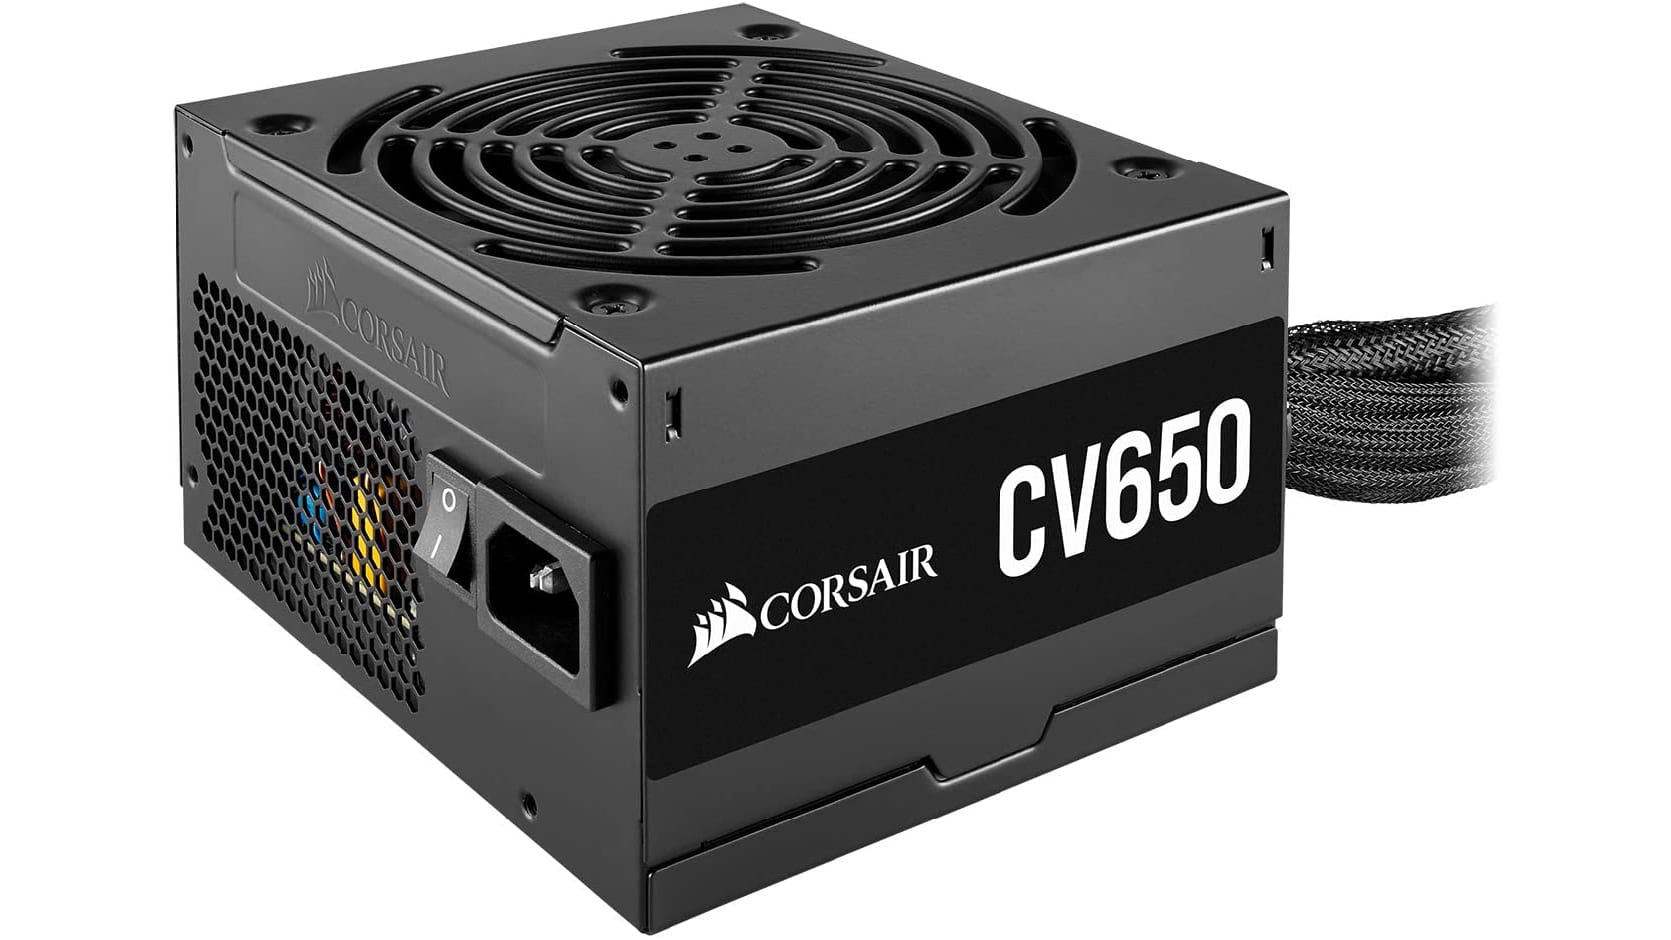
Last is the Fully Modular type and this option is for fully customizable cable wire setup. Also make sure to always choose True Rated 80+ Bronze or higher PSUs. I suggest looking for a 550W Full-Modular PSU with at least a True Rated 80+ Bronze rating.
Case
And to house them all, I got the IforGame FTW ATX case because it is the available case with built-in 3x fans. One option is also the Rakk Haliya Micro ATX Black Tempered Glass or simply choose a case that fits your style. Make sure that the case fits your Motherboard and GPU before buying and choose any ATX CPU cases if you require more space.
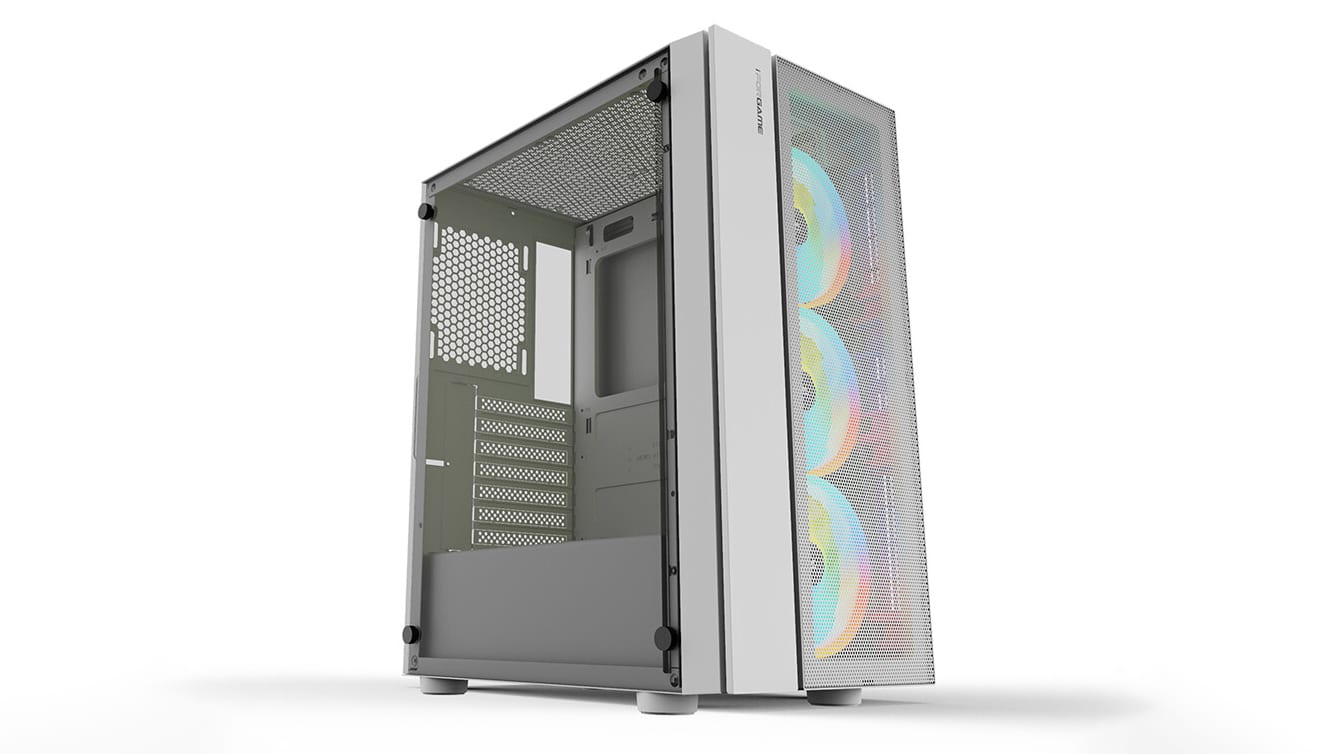
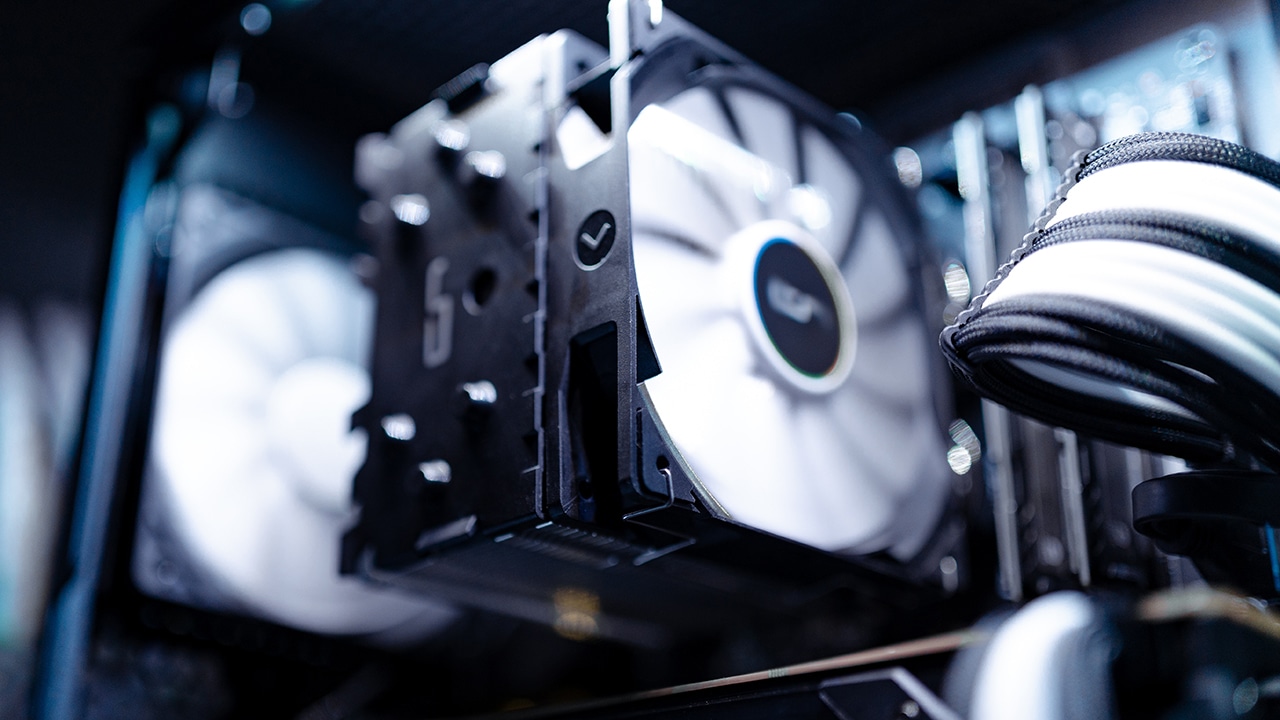
To help cool things down, I went for the IforGame 3x RGB fans. It’s also advisable to go for at least six fans for better ventilation. And as a quick tip, place three AIR IN at the front of the case, one at the rear, and two AIR OUT fans up top if your case supports this layout.
Assembly
Some things to keep in mind: Beware of static shock. Before assembling your computer, make sure to have an Anti-static Wrist Strap Band.
Since there are a lot of videos online explaining how to assemble the CPU and to avoid confusion, always remember this: Processor to Motherboard > Motherboard to Case > Fan to Case > PSU to Case > PSU cables to Motherboard > Case cables to Motherboard > SSD/HDD to Motherboard > GPU to Motherboard.
After assembling your computer, make sure that it boots up then install your OS. After that’s successful, it’s now time for benchmarking, let’s see if it’s a good build.
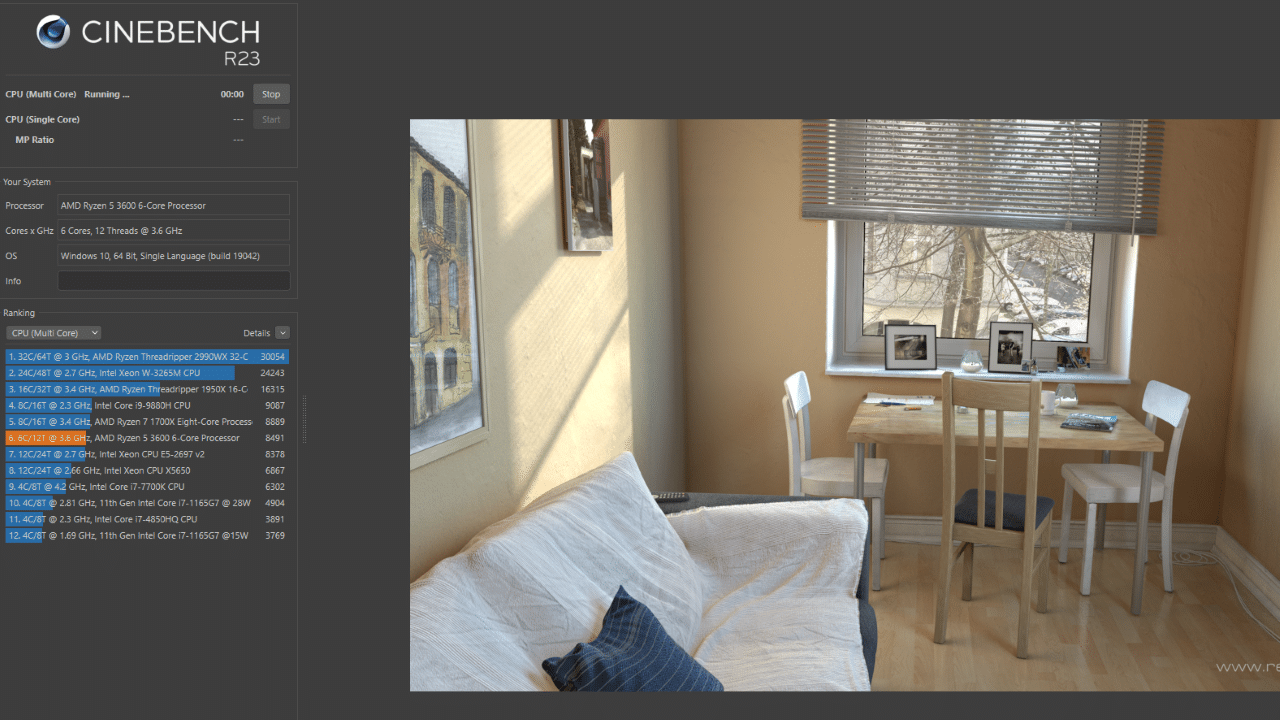
Benchmarking
Using Cinebench, it says that it performs better than Intel Xeon CPUs and other Intel Core i7s. Our setup is also just a little below an AMD Ryzen 7 and Intel Core i9.
Next is we use UserBenchmark, this one compares your build to other users.

As you can see, it’s definitely a good build, specification-wise. Everything is excellent with the sole exception of my Boot Drive or the SSD.
Final Thoughts
With a PhP40K budget, you could also build a similar rig using similar components. Of course, you can tweak things up depending on where you want to allocate more budget. The important thing is to first know what purpose will you be using the desktop for before you buy the parts. And when you have your components listed down, you can simply go online and have them delivered straight to you.
Also, remember to read customer reviews first when purchasing online. It really helps to know if the store is a good vendor via its previous customers.
Lastly, this is obviously just for the CPU. Would you want us to also make a quick guide for peripherals and other accessories? What can you say about my build? Let us know your thoughts in the comments!